


Key Takeaways
- PC simulators like Liftoff, VelociDrone, and the DRL Simulator require a client install through Steam, a controller set to joystick mode, and often a driver or Steam-input check before your first flight (Liftoff Support, 2026; Bat Cave Games, 2026; Steam Community, 2026).
- None of that is hard. It's just several sequential steps, each one a place to get stuck if a driver is outdated or a controller isn't recognized.
- FlightDivision runs in a browser tab. Plug in a compatible radio, switch it to USB joystick mode, and the sim's built-in calibration wizard maps your sticks in under a minute, no client, no account, no driver install.
Search "fastest way to start fpv simulator" and you'll mostly find setup guides, not setup times. That's telling. Getting a PC-based FPV simulator running is genuinely not difficult, but it's also not instant, and most of the friction happens before you ever see a drone on screen: downloading a client, waiting for it to install, plugging in a controller, and hoping the operating system recognizes it as a joystick.
This is a real, step-by-step comparison of what it takes to get your sticks moving a virtual drone in each major simulator, sourced from each product's own support documentation, not a knock on any of them. Then it walks through the fastest path that currently exists: opening a browser tab.
What "Setup" Actually Involves on a PC Simulator
Before comparing numbers, it helps to be specific about what a "PC sim setup" is actually made of, because the individual steps are what determine whether it takes you five minutes or forty.
1. Install the platform client. Liftoff, VelociDrone, and the DRL Simulator are all distributed through Steam. Liftoff's own support page states plainly that the game "is only available on the digital distribution platform Steam," and getting to a playable state means installing Steam itself first, then downloading the game through it (Liftoff Support, 2026). That's two downloads stacked before you've touched a stick.
2. Configure your controller as a joystick or HID device. This is the step most PC-sim guides spend the most words on, because it's where things go wrong. VelociDrone's manual is direct about it: "make sure that you set the usb connection mode in the radio setup menu on the transmitter to be USB joystick," and to always power on the transmitter before plugging in the USB cable (Bat Cave Games, 2026). Some transmitters, notably Spektrum radios, don't expose a USB joystick mode at all and need a separate hardware dongle to convert their trainer port into something a PC recognizes (Bat Cave Games, 2026).
3. Check for driver and platform conflicts. Liftoff's support docs warn that "outdated drivers may make the game unstable" and recommend disabling Steam's own controller configuration under Settings > Controller > General Controller Settings to avoid input conflicts (Liftoff Support, 2026). The DRL Simulator has the same requirement in the opposite direction: Steam Community threads note that Steam Input Per-Game Settings needs to be forced off, with every box unchecked in General Controller Settings, or the sim won't read the controller correctly (Steam Community, 2026).
4. Run the in-sim calibration wizard. Once the hardware is recognized, every one of these simulators still needs you to run its own calibration step: VelociDrone flags this explicitly, warning that skipping stick calibration "can get spurious results" once you're flying (Bat Cave Games, 2026).
5. Optional account creation. Liftoff's free Pro account is genuinely optional for basic play, and unlocks progression tracking and tournament access rather than gating flight itself (Liftoff Support, 2026). VelociDrone and the DRL Simulator have similar account layers for online leaderboards and multiplayer.
None of these five steps is unreasonable on its own. Stacked together, they're the reason a first-time pilot can spend their entire evening "setting up a simulator" without ever flying one.
The Fastest Way to Start: A Step-by-Step Guide
Here's the actual path to get flying in FlightDivision, a free, browser-based FPV simulator with no client to install.
- Open /sim in your browser. No download, no installer, no account wall. The simulator loads directly in the tab, the same way any other web page does.
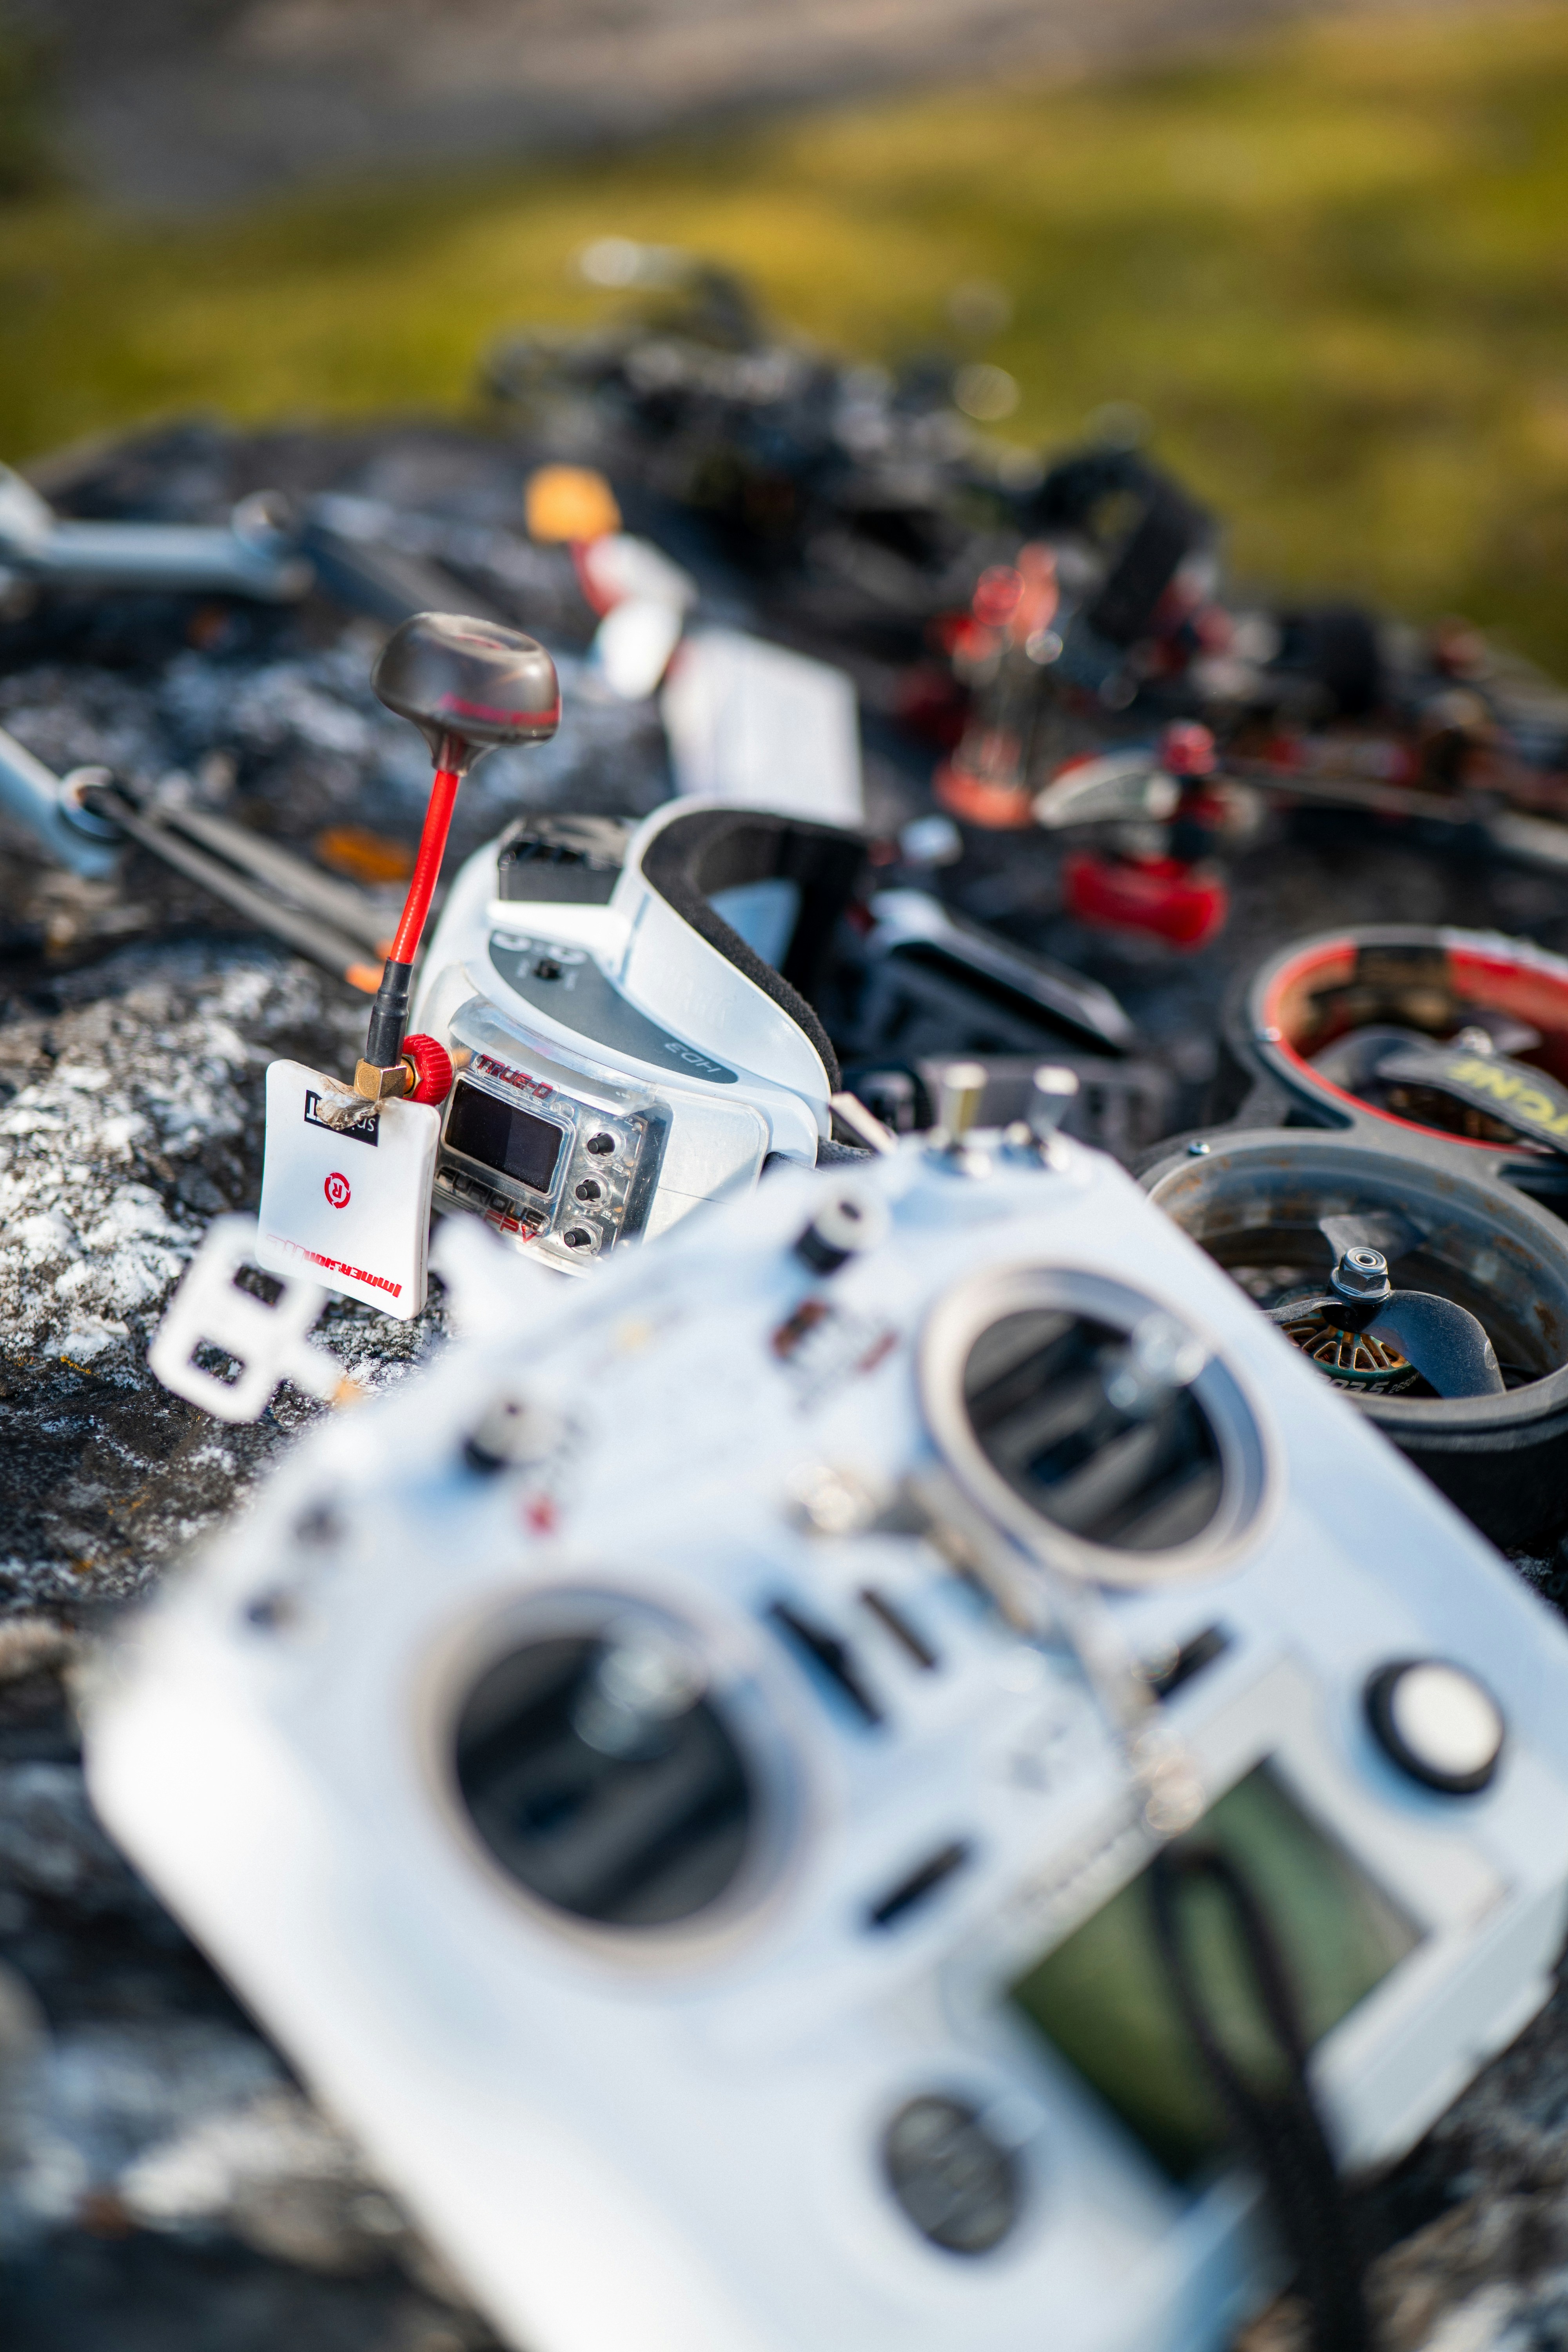
- Plug in your radio and switch it to USB joystick mode. This is the one hardware step that's genuinely shared with PC simulators, because it's a property of the transmitter, not the software reading it. Most modern radios, including RadioMaster and other ExpressLRS-based transmitters, expose a USB joystick or HID mode in their own menu.
- Let the browser detect the controller. FlightDivision reads input through the browser's own controller support, the same underlying mechanism browser games have used for gamepads for years. There's no separate driver package to install and nothing to download outside the page itself.
- Run the built-in calibration wizard. The sim's controls screen shows a live "Connected" or "Not detected" status and walks you through mapping throttle, roll, pitch, and yaw to your radio's actual gimbal ranges. It applies the usual axis layout automatically for a standard gamepad and only asks you to confirm or adjust it.
- Start the first lesson. With sticks calibrated, you're in Takeoff and Forward, the first lesson in FlightDivision's ordered curriculum, immediately. No separate track or free-fly map to figure out first.
That's the whole path: open a tab, plug in a radio, calibrate, fly. There's no client update to wait through and no Steam controller setting buried three menus deep to double-check.
No radio yet?
You don't need a transmitter to try the first lesson. FlightDivision also accepts keyboard input, so you can see the curriculum and the controls before deciding whether to plug in real hardware.
Setup Steps Compared
| Step | Liftoff | VelociDrone | DRL Simulator | FlightDivision |
|---|---|---|---|---|
| Client install | Steam client, then game download | Steam client, then game download | Steam client, then game download | None, runs in browser |
| Controller mode | Switch to USB joystick, verify with Gamepad Tester | Switch to USB joystick mode explicitly in radio menu | Xinput/DirectInput, some radios need config | Switch to USB joystick mode |
| Driver/platform check | Update hardware drivers; may need Steam Input adjusted | Data-capable USB cable required; some radios need a dongle | Steam Input Per-Game Settings must be forced off | Browser's built-in controller support, no separate driver |
| In-app calibration | Yes | Yes, explicitly warned against skipping | Yes | Yes, built-in wizard |
| Account required | No, optional Pro account | Varies by feature | Varies by feature | No |
Why This Isn't a Knock on PC Simulators
It's worth being precise about what this comparison actually shows, because "faster to start" isn't the same as "better." Liftoff, VelociDrone, and the DRL Simulator are all capable, widely used training tools with large communities, detailed physics, and support documentation good enough to walk a beginner through every one of the steps above. None of those setup steps are a design flaw. A native client can offer things a browser tab generally can't match yet, like deep track editors, larger community server ecosystems, and physics tuning aimed squarely at competitive racing.
The honest tradeoff is speed to first flight, not quality of the simulator once you're in it. A pilot who already owns a gaming PC, is comfortable with Steam, and wants the most competition-accurate physics has good reasons to go straight to a native client. A pilot who wants to find out in the next five minutes whether FPV clicks for them, or who's on a laptop that isn't a dedicated gaming rig, has good reasons to start in a browser instead. Both paths lead to real stick skill; they just start at different speeds.
For the full picture of how FlightDivision compares to Liftoff, VelociDrone, DRL Simulator, and other options across cost, curriculum, and physics fidelity, not just setup time, see Best FPV Simulator 2026: Every Major Option Compared.
Setup Speed Only Matters If What's Behind It Is Worth Starting
Getting to your first flight in under five minutes is only useful if that first flight actually teaches you something, rather than dropping you into an open map with no plan. A fast setup that leads to unstructured free-flying still has the same problem unstructured free-flying always has: you end up practicing whatever you happen to attempt, in whatever order, with no guarantee it's the skill you need next.
That's why FlightDivision pairs the fast setup with an ordered lesson curriculum rather than a free-fly sandbox. Once your radio is calibrated, you land directly in Takeoff and Forward, not a blank map. Structured FPV Curriculum vs Free Flight: Why Guided Lessons Beat Random Practice covers why that ordering matters more than raw hours logged. And if you're curious how a simulator can run entirely in a browser tab without sacrificing the fidelity a downloaded client offers, FPV Simulator Without a PC Download: How Browser-Based Training Works covers the technical side of that tradeoff.
Getting Started
You can be flying your first lesson before a PC simulator's Steam client finishes downloading. Open /sim, plug in a compatible radio, run the calibration wizard, and start Takeoff and Forward. No installer, no account, and nothing to configure beyond the radio itself.
A RadioMaster Pocket is the USB joystick we point at for that path. More radios sit in the radio buying guide.
Frequently Asked Questions
Open a browser-based simulator like FlightDivision, plug in a radio set to USB joystick mode, and run the built-in calibration wizard. There's no client to install and no account required, so you can be in your first lesson within minutes of opening the page.
It depends on the simulator. PC clients like Liftoff recommend keeping hardware drivers updated and sometimes require adjusting Steam's own controller settings to avoid conflicts (Liftoff Support, 2026). Browser-based simulators read controllers through the browser's built-in support, so there's typically nothing separate to install.
Most modern transmitters that support a USB joystick or HID mode, including many ExpressLRS-based radios, will work. Radios without a native USB joystick mode, like some Spektrum models, may still need a hardware dongle regardless of whether the simulator is browser-based or a PC client.
Not in terms of what you learn from it. The setup speed is a separate question from simulator quality. A faster setup just means less time spent on installation steps before your first flight; the value of the training itself depends on the curriculum and physics behind it.
Sources
- Liftoff Support, Liftoff Setup Requirements and Controller Troubleshooting, retrieved 2026-08-11, https://www.liftoff-game.com/support
- Bat Cave Games, What Transmitters Does VelociDrone Support?, retrieved 2026-08-11, https://batcavegames.freshdesk.com/support/solutions/articles/16000062351-what-transmitters-does-velocidrone-support-
- Bat Cave Games, Spektrum or Futaba Transmitter Connection to VelociDrone, retrieved 2026-08-11, https://batcavegames.freshdesk.com/support/solutions/articles/16000072855-spektrum-transmitter-connection-to-velocidrone
- Steam Community, DRL Simulator Controller Settings Discussion, retrieved 2026-08-11, https://steamcommunity.com/app/641780/discussions/0/1742230617609948609/
- Oscar Liang, How to Connect Any Radio to FPV Simulators, retrieved 2026-08-11, https://oscarliang.com/betaflight-fc-fpv-simulator/


